I recently inherited my wife’s 2016 MacBook Pro when she got a new 2021 MacBook Air (which is really awesome). She also updated her Microsoft Office suite to Microsoft 365. So not only did I get a fully functional MacBook, but I also gained the ability to use Smart View on a Mac. All I had to do was figure out how to install Smart View on a Mac.
First, the prerequisites to use Smart View on a Mac. Per Oracle documentation:
- Excel 365 on a Mac
- You have administrator privileges on the environment to which you want to connect
- Your Oracle Enterprise Performance Management Cloud environment is updated to at least 19.02
- You have Microsoft 365 users provisioned in your organization (if you intend to distribute to other users)
Create Manifest File
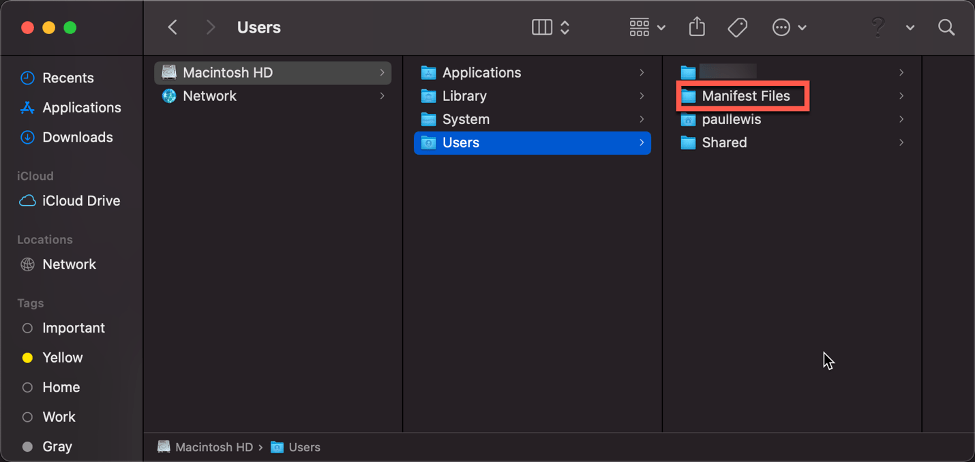
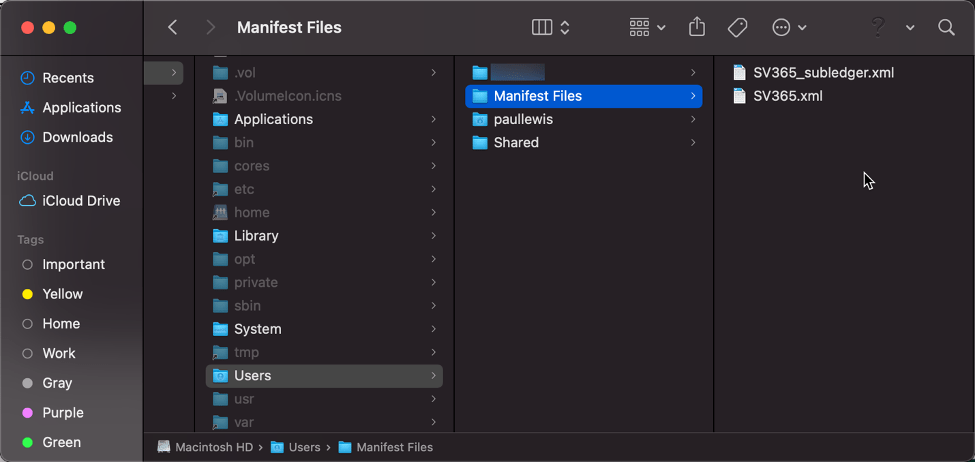
The first step was to create a manifest file. You’ll need a folder on the Mac for saving that manifest file when it’s created. I created the folder “Manifest Files” in the root of the Users folder.
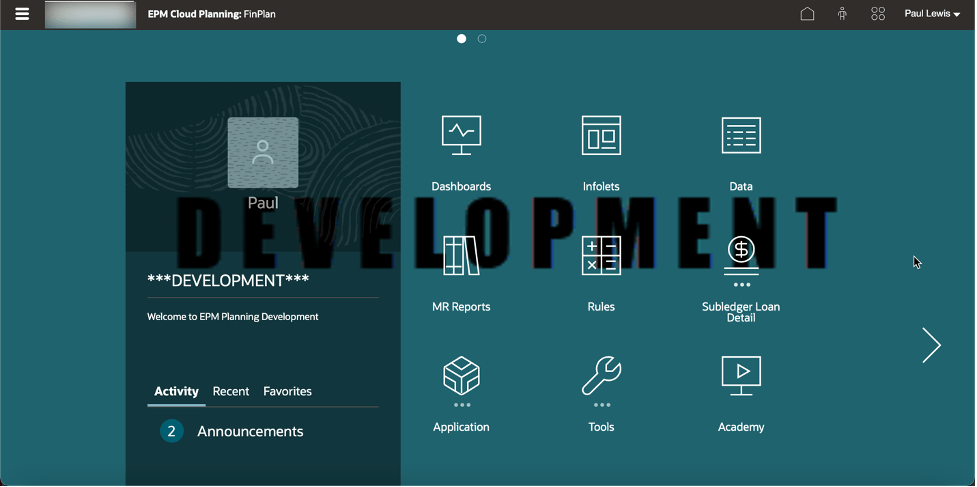
Next, login to the EPM Cloud environment.
Manually change the URL to https://serviceURL/HyperionPlanning/CreateManifest.html

This brings up the Create Manifest File page.
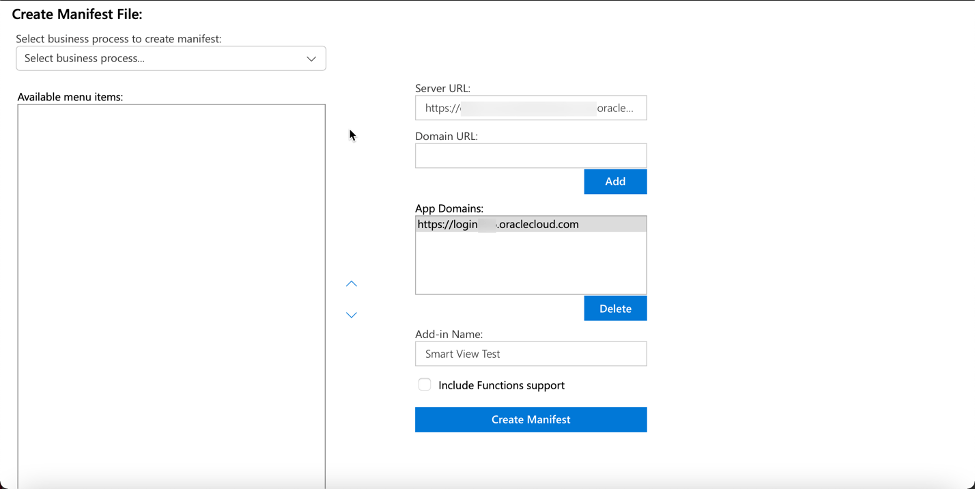
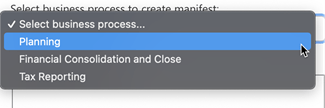
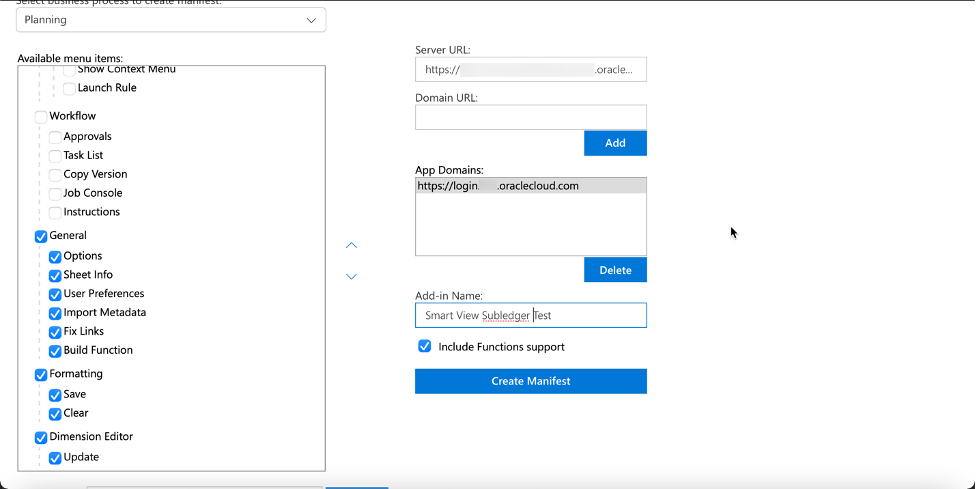
Select the business process.
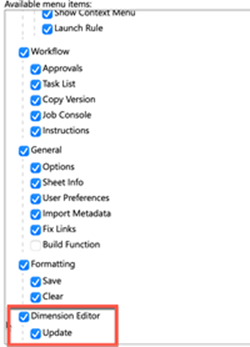
Select the menu items you want to be available. I left all the default selections and then added Dimension Editor.
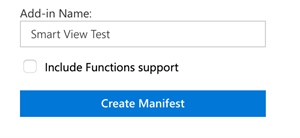
When finished with menu item selections, click Create Manifest. Enter a name for the file if prompted, this will depend on your Mac preferences for downloading files. You should also customize the Add-in Name, the default is “Smart View”, I changed to “Smart View Test”.
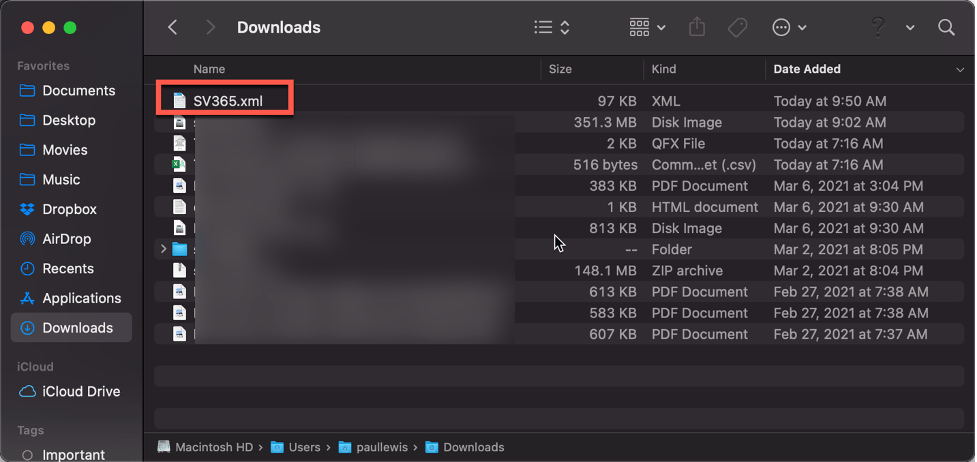
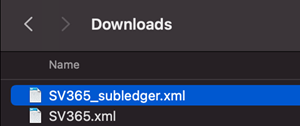
An XML file will be saved to the download folder.
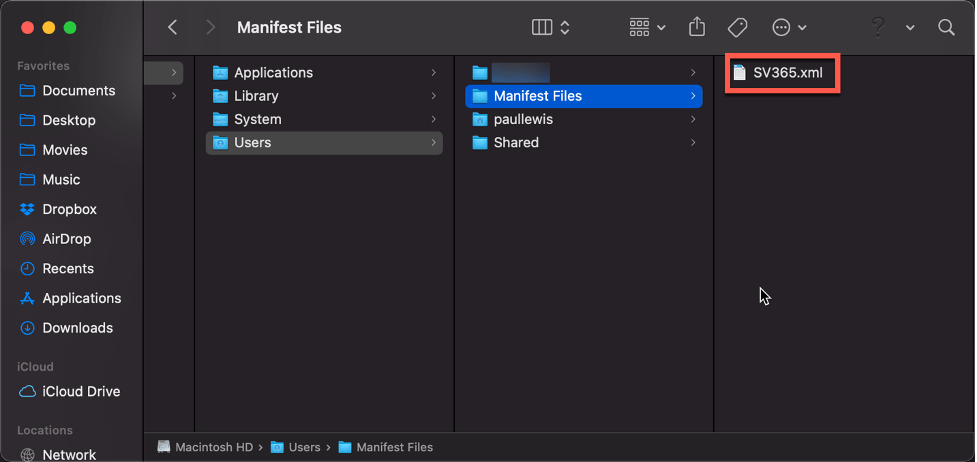
Move that file to the folder created earlier.
Repeat the process to create manifest files for other environments, use unique names for each new file.
Sideloading
I’m not sure why it’s called “sideloading”, but this is what to do to enable Smart View on one Mac. Copy the manifest file previously created to this folder:
/Users/<user>/Library/Containers/com.microsoft.Excel/Data/Documents/wef
I ran into an issue at this step due to hidden folders on my Mac. You may or may not encounter similar issues. As much as I love Apple products, some things are just not intuitive to me. When I searched for the folder path, I couldn’t find it. After eventually concluding it must be in a hidden folder, I then had to find instructions to reveal hidden folders on a Mac. Google is a wonderful tool.
Open Macintosh HD or the folder where you want to display the hidden files in the Finder. Hold down the Command, Shift and Period keys: cmd + shift + [.] The hidden files and folders on your Mac will then appear partially transparent. You can hide the files again using the same keyboard shortcut.
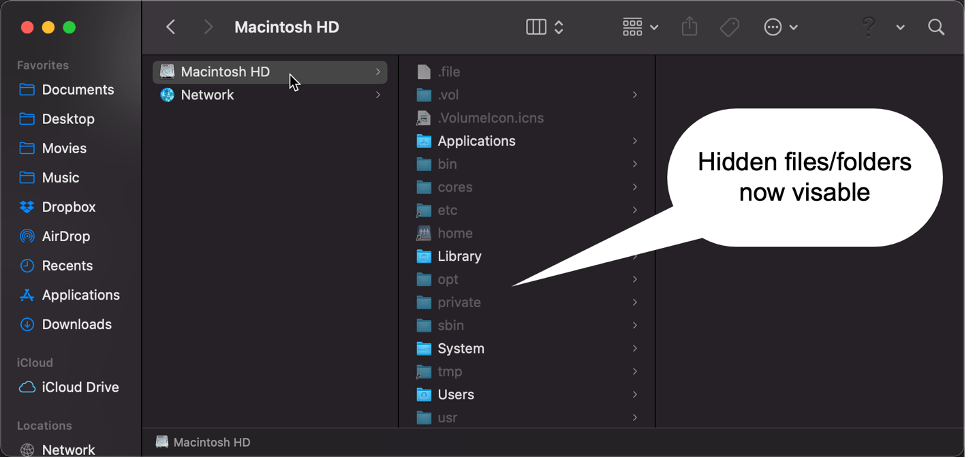
Now we can find the needed folder, though I had to add the folder “wef”.
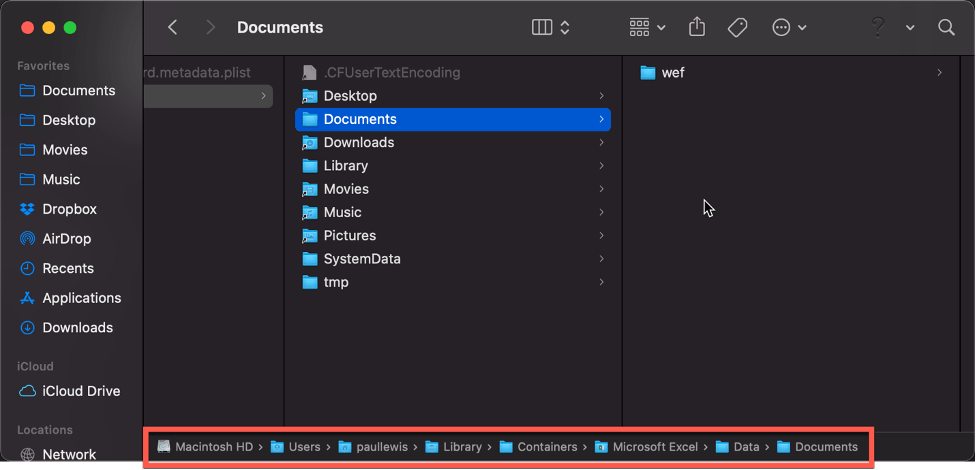
Copy the manifest file into the folder “wef”.

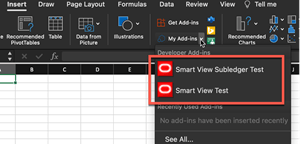
Now we’re ready to enable the Smart View add-in in Excel. Launch Excel 365, then select the Insert tab.

Click the drop-down arrow on My Add-ins. Select the Smart View add-in.
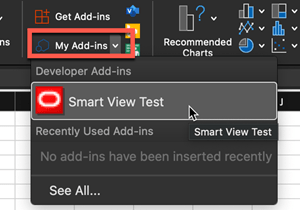
The Smart View ribbon is now available with all the menu items selected when the manifest file was created.

We’ve only enabled Smart View to one environment, but we can use the same method to add another connection. There is also an additional step to modify the XML files so each is unique as an Excel add-in.
Create another manifest file to a different environment. We’re changing some of the menu items compared to the first one, and notice that we changed the Add-in Name to distinguish it.
Since we are not prompted for a file name, we can rename once it is downloaded and before moving to the folder Manifest Files.
Move to the Manifest Files folder.
And now copy to the “wef” folder.

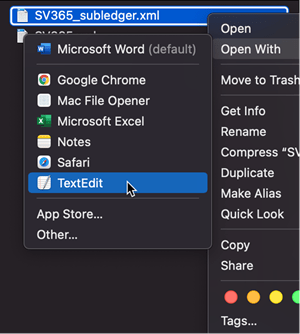
Open one of the XML files in TextEdit.
This part can be a bit tricky. Assuming you modified the manifest file name when created, you should only need to make the following change. However, it may be necessary to update other values in the XML depending on the connections being made and the names at creation, refer to Oracle documentation for more details.
Locate the <Id> element near the beginning of the XML file.
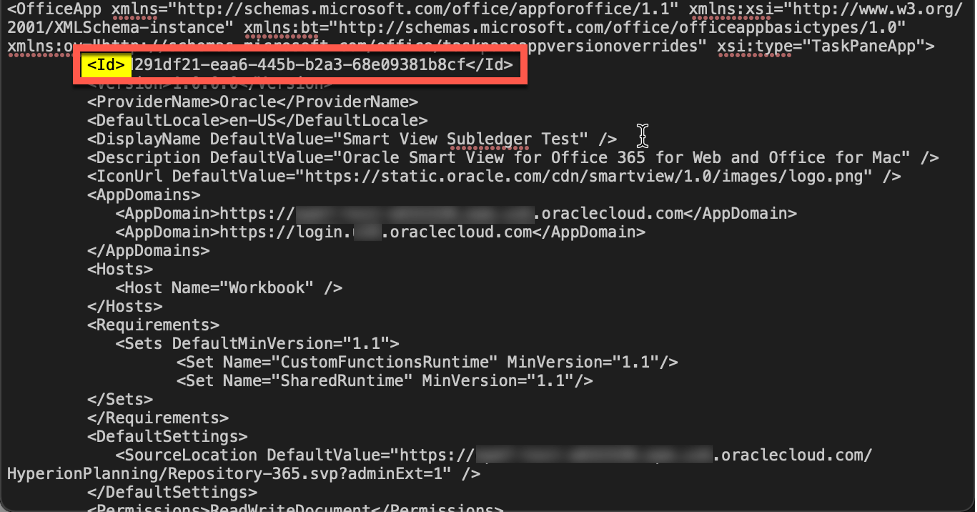
The ID element is a long string of characters. Oracle recommends a simple edit of incrementing the last digit by 1. For our file:
Original: <Id>d291df21-eaa6-445b-b2a3-68e09381b8cf</Id>
Edited: <Id>d291df21-eaa6-445b-b2a3-68e09381b9cf</Id>
Save the file. We only have two manifest files, it’s only necessary to change one of them. If you have more, than repeat the process for each file so each has a unique ID element.
Relaunch Excel 365, go to the Insert tab and click the drop-down arrow for My Add-ins. You will see Smart View selections for each of the manifest files.
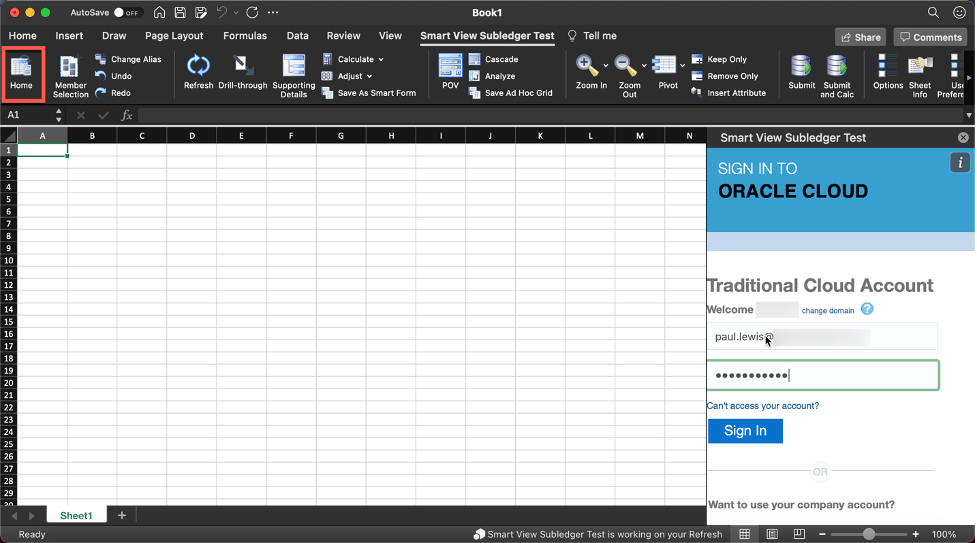
Select one of the connections, click Home (same as Panel on PC) on the Smart View ribbon and login.
The sheet is now connected.
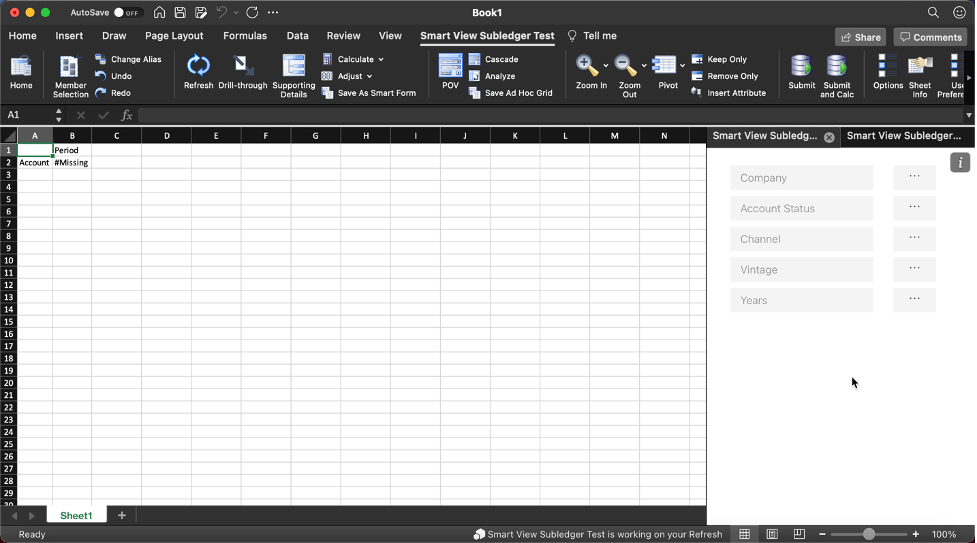
The ribbon operates similar to how it does on a PC. Depending on which menu items you enabled, those items will appear. There are cosmetic differences, but functionality is basically the same. You can open the other connection(s) in the same workbook on different sheets. When reopening, you may need to select the Smart View connection again from My Add-ins and click on the Home icon.
I’ve only enabled Smart View on my personal Mac. Additional steps are necessary for deploying to multiple users. Oracle documentation details that process.
As always, happy EPM’ng!

Thank you, Paul, for this article and discussing about the Manifest file. I’m trying to use SmartView (Mac and Browser) with Essbase but do not see a way to create the Manifest file. Would it be possible for you to send me or upload a sample Manifest file you created in EPM? Thank you in advance.
LikeLike
Here’s the current documentation from Oracle, this should be more useful than me sending an old file that may not be relevant anymore. https://docs.oracle.com/en/cloud/saas/enterprise-performance-management-common/svimb/creating_saving_manifest_108x259f75ca.html
LikeLike