
About 3 years ago, I wrote about installing and using Smart View on a Mac. While I still think it’s pretty cool to be able to use Smart View on a Mac, the reality is most of us are using Windows computers. With that in mind, I wanted to expand on that original post and show how to install and use Smart View for those users that do not have a desktop version of Office installed on their pc and are instead using the browser-based Office 365.
Oracle documentation details all the steps. I’ll keep it somewhat simple, I encourage you to read the documentation, especially if you intend to deploy to a group of users instead of a stand-alone single install.
The prerequisites for using Smart View for Office 365 (as well as on a Mac) include:
- Excel 365 on Chrome
- You have administrator privileges on the environment to which you want to connect
- Your Oracle Enterprise Performance Management Cloud environment is updated to at least 19.02
- Your Oracle Essbase environment (Essbase on Oracle Cloud Infrastructure via Marketplace) is of release 21.5.2.0.1 and later
- You have Microsoft 365 users provisioned in your organization (if you intend to distribute to other users)
The first step is to create a manifest file. We need a folder on the PC to save the manifest file.

Login to the EPM environment.
Manually change the URL to https://serviceURL/HyperionPlanning/CreateManifest.html

The Create Manifest File page is now open.
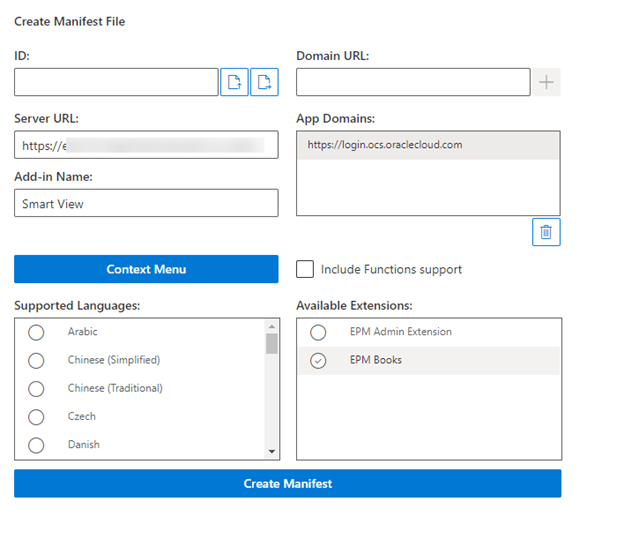
Enter the required URLs in Domain URL and click the Add icon. Multiple URLs can be added, though we are not going to test that at this time.


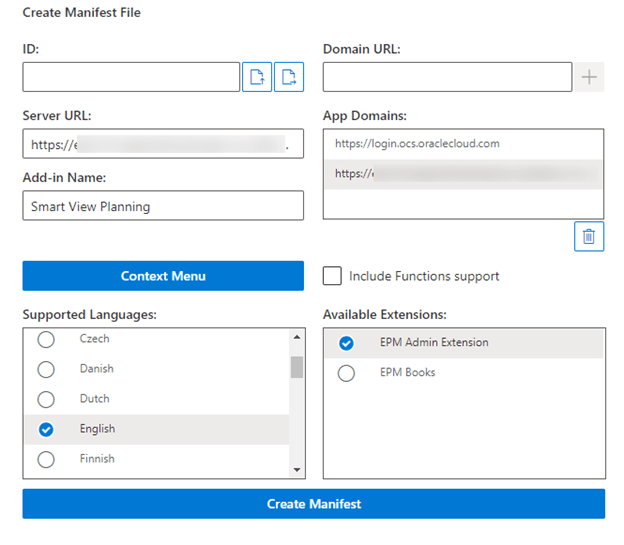
The Add-in Name field can be customized to the business process being connected. This can be helpful if the user will be accessing Planning and other EPM processes (i.e. FCC, Tax).

Click on the Context Menu button to select items for the Smart View ribbon. I’m selected all the available items.

Additional languages can be selected, as well as extensions. I’m leaving it with just English and selecting the EPM Admin Extension. Functions support is also available, but we’ll skip that.
Now we can click the Create Manifest button. A window will open where we can choose where to save the file. We want to save the file to the folder created earlier.

Let’s recap what we have done to this point. We created a folder for the manifest file, logged into our EPM environment to create a manifest file, selected the items to include in the Smart View ribbon, and saved the manifest file to our local computer.
Before we can test using Smart View in the browser, we have to go through a process that Oracle calls Sideloading. The browser cache must be cleared before sideloading the manifest file. Once that is done, follow these steps.
- Open Chrome
- Login to EPM
- Open another browser tab and login to Office 365
- Open a blank Excel workbook in Office 365
- From the Home ribbon, in the Add-ins section, select More Add-ins
- Select My Add-ins and then Upload My Add-in
- Select the manifest file saved on local computer
Here’s our blank Excel workbook from step 4 above.

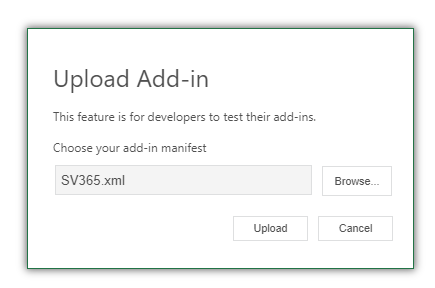
Go to More Add-ins.

Select My Add-ins and then Upload My Add-in. Find the manifest file and upload.


We now have the Smart View ribbon!

The ribbon operates similar to how it does in the desktop version. Depending on which menu items you enabled, those items will appear. There are cosmetic differences, but functionality is basically the same. The panel has the library and ad hoc.


Important note: you must be logged into the EPM environment on the web before you can access it from Excel 365.
Overall, the process is very similar to setting up Smart View on a Mac. I only had one EPM environment available for testing, so I could not try adding other URLs. That’s something I want to do when I can.
As always, happy EPM’ng!
