Designing forms in EPM can be easy or challenging depending on the requirements. In general, forms should be easy to maintain by including substitution or user variables to allow usage across multiple scenarios, years, versions, and other dimensions. They also need to perform efficiently by limiting the number of rows and columns by using suppression so only needed data is visible. But this can be a problem if the data to be entered doesn’t exist yet. There is a very simple solution to this issue.
Often times, forms are designed with accounts in the rows and periods across the columns. Periods are usually January thru December and YearTotal. With row suppression enabled, only accounts with data will be visible.

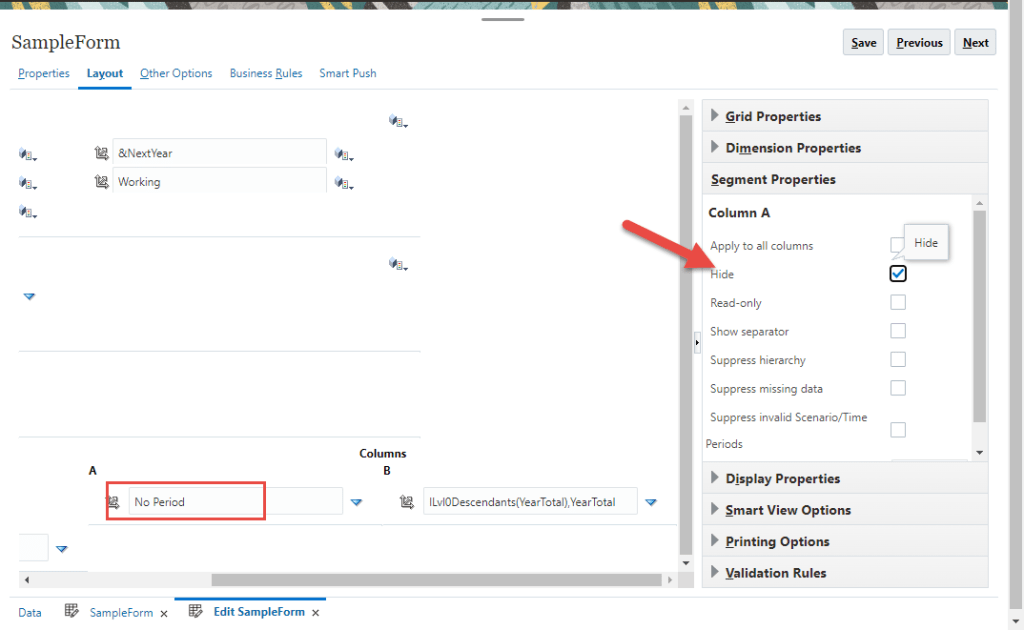
To be able to enter data for an account that to this point does not have data, we first add another column with either “No Period” or “BegBalance” to the form. Open form editor and add a column.

Change member to “No Period”, set the column as hidden and save the form.
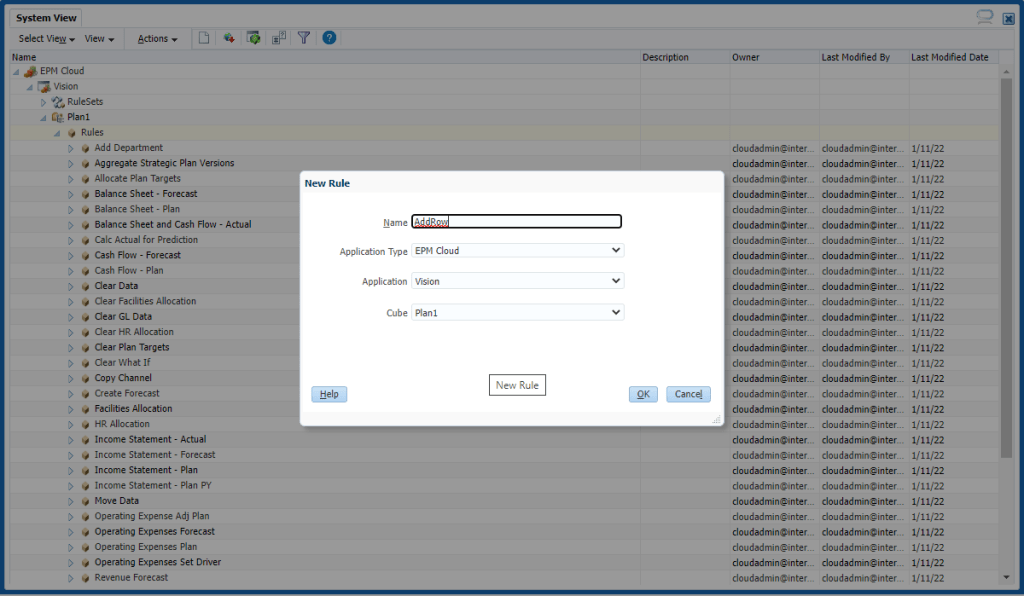
Now we need a new business rule that will allow us to select the account to add. Open Calculation Manager and create a new rule.
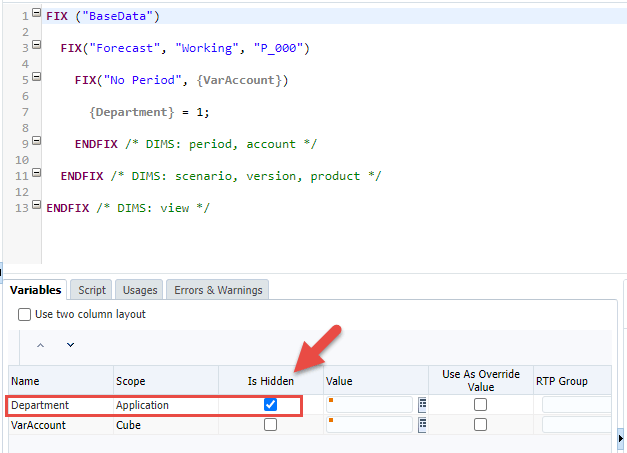
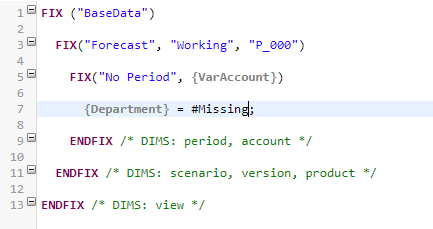
The basics of the rule are to use a run time prompt to select the needed account and set the data value of that member to 1 in the member “No Period” in the hidden column on the form. For our example, we used the following.

Notice that we have Entity (RTP name is Department) in the formula, by using a sparse dimension in the formula we should be able to avoid any block creation issues. We’re also using a run time prompt for Entity, but it is checked as Is Hidden. This will hide the member from the prompt window on the form.
Save the rule and deploy.
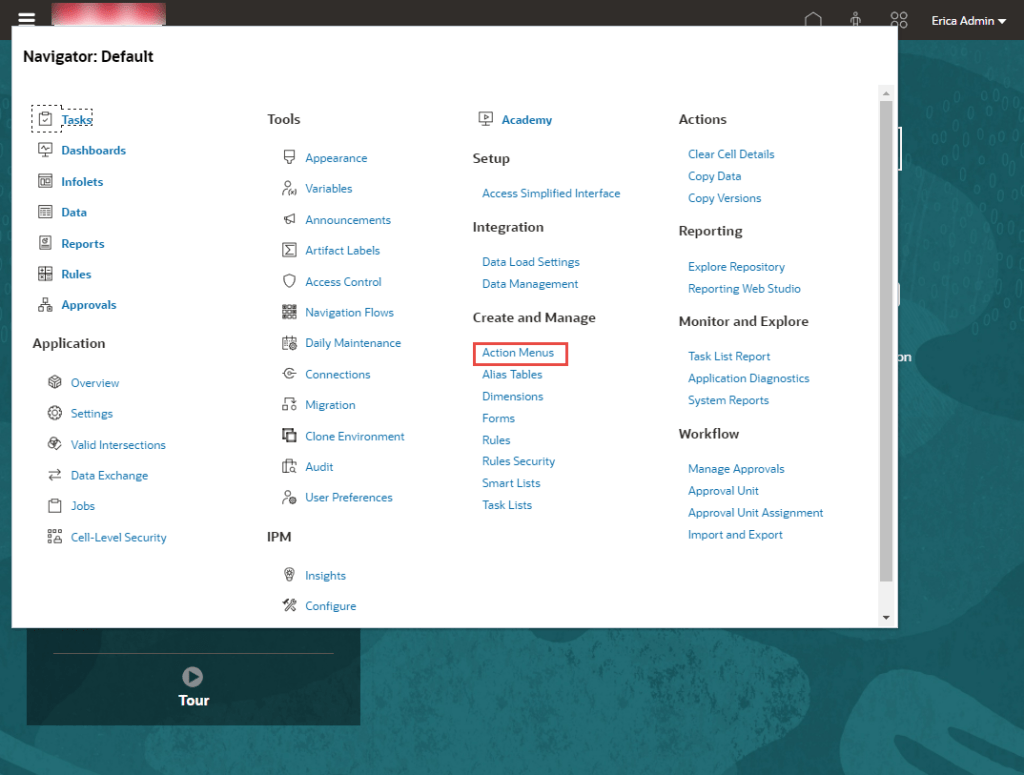
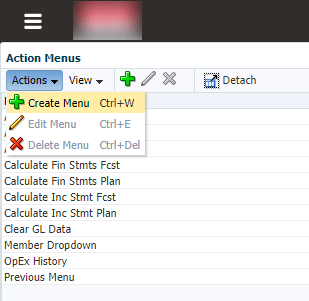
Now we go back to Planning where we need to create an Action Menu item. From Navigator, select Action Menus.
From the Actions drop down, select Create Menu.
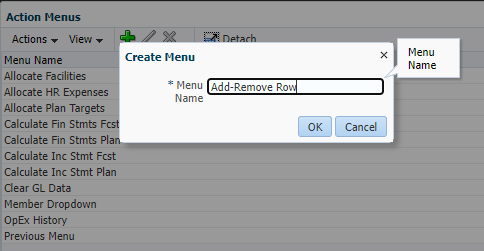
Name the menu.
Select the new menu item, click the Edit pencil.

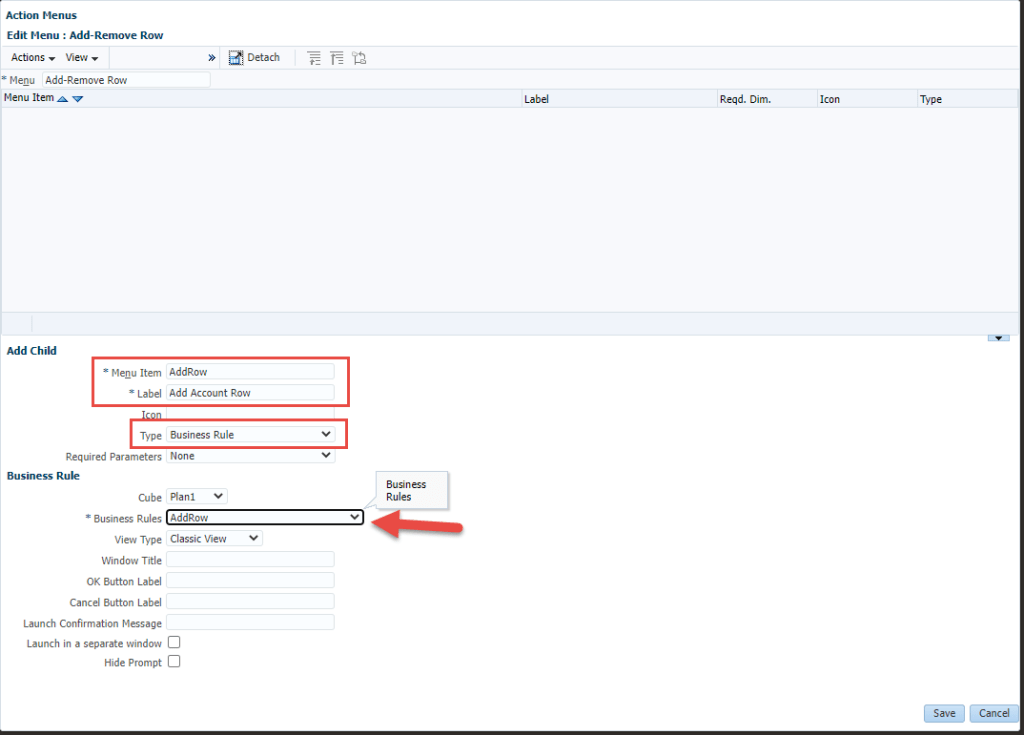
From the Edit Menu page, click the Actions drop down and select Add Child.

Name the Menu Item and the Label. For Type, select Business Rule. Select the cube and the available business rules will be in the drop down, select the rule we previously created.
Click Save to save the menu item, then Save again on the next window to save the menu. Click Cancel to return to the list of action menus.
Return to the form and open in edit mode. From the Other Options tab, select the new menu item from the list of Available Menus. Save the form.

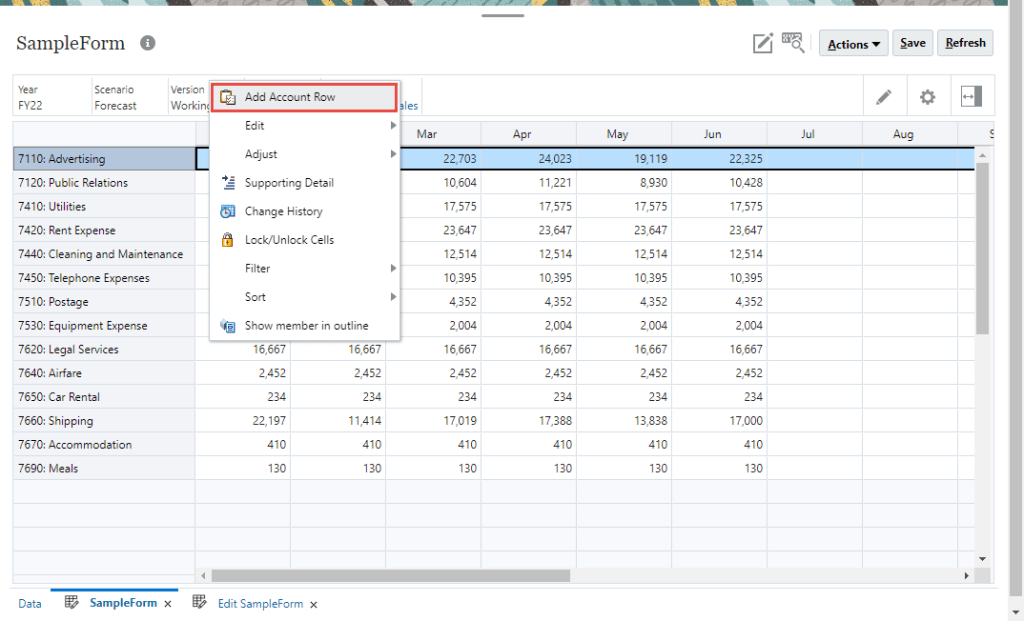
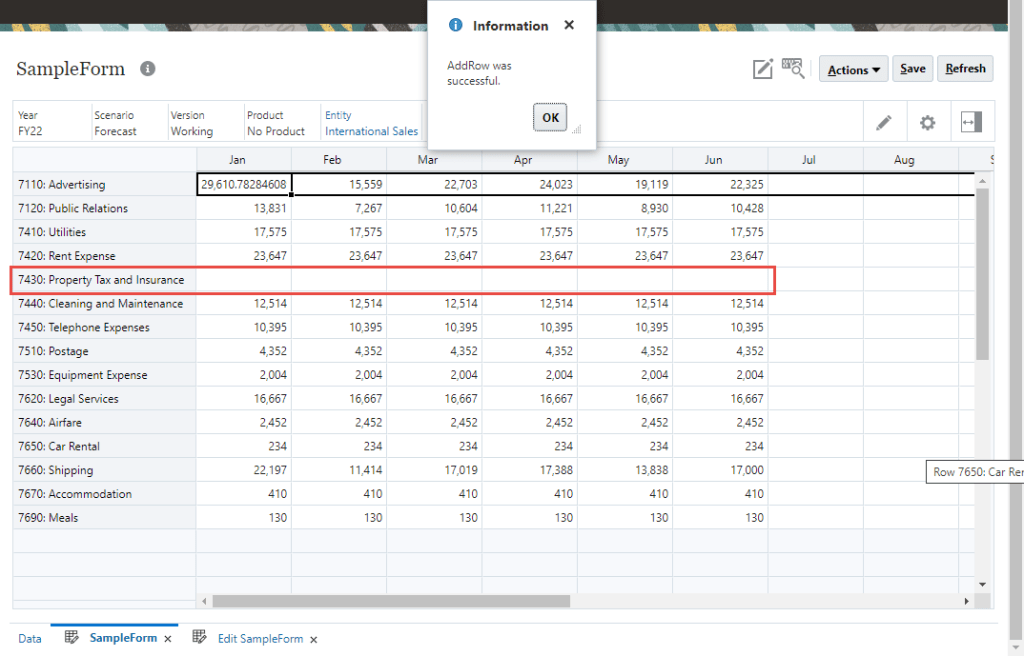
Time to test this functionality on the form. Right click on the form and select the Add Account Row item.
A window will open prompting for the new account member to add. Depending on where in the form you right clicked, the member selection may be pre-populated with an account already on the form. Use the member selector to pick the correct account to add, or type it in if you know the valid member name. Notice that the prompt only asks for Account, remember that we hid the prompt for Entity.

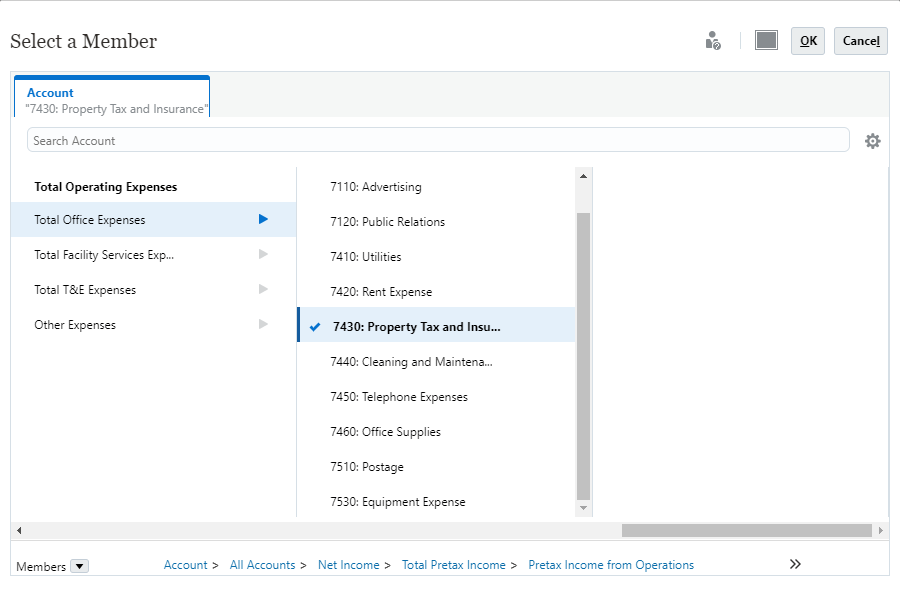
Click Launch.

The form now has a row for the new account. No data is in the periods, but the row shows up because the hidden column for “No Period” has a value of 1.
If needed, another rule and menu item can be created to remove the row. Instead of setting the account value to 1, set it to #Missing. This assumes that no data was entered in other periods. If you want to also clear any data entered, include those period members in the FIX with “No Period”.
Using this basic logic, you can make forms more efficient and user friendly. Other dimensions besides account can be used, and more flexibility with other run time prompts or user variables for the members can be added.
As always, happy EPM’ng!

multiple action menu is possible add for column?
LikeLike
Adding a column may depend on the layout of the form. The basic logic used to add a row can be used to add a column.
LikeLike