One of the advantages of having a Narrative Reporting instance instead of just utilizing Reports within the EPM Planning instance is the ability to build Report Packages. Report Packages allow you to combine non-EPM data sources with the EPM reports and create a repeatable workflow to manage virtually any level of internal and external reporting needed. It can be a bit overwhelming to set up at first (at least that’s how I felt), so I thought it would be good to keep it simple to get started and focus on creating a basic package.
The first step is to think about the overall layout of the report you want to create. Will it contain EPM reports, non-EPM data, or both? How will the pieces organize into Doclets? What will the workflow be, all three phases or only some? Oracle summarizes these considerations here. Since we want to keep our example simple, we will have a Report Package with a cover page, two EPM reports, one non-EPM report, and only an author phase. Note: It is not required to have phases.
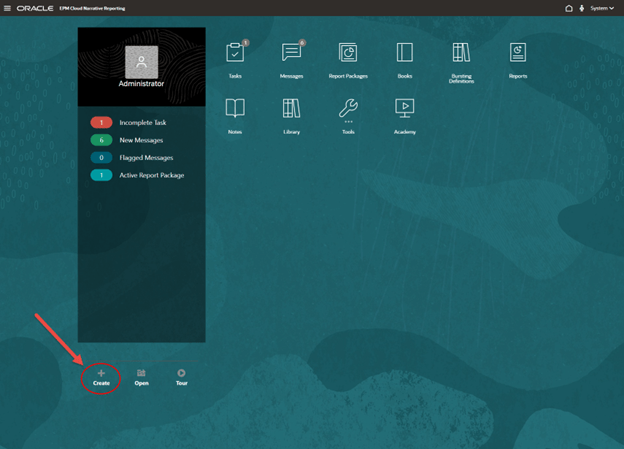
From the Home Page, click the Create icon under the message pane.
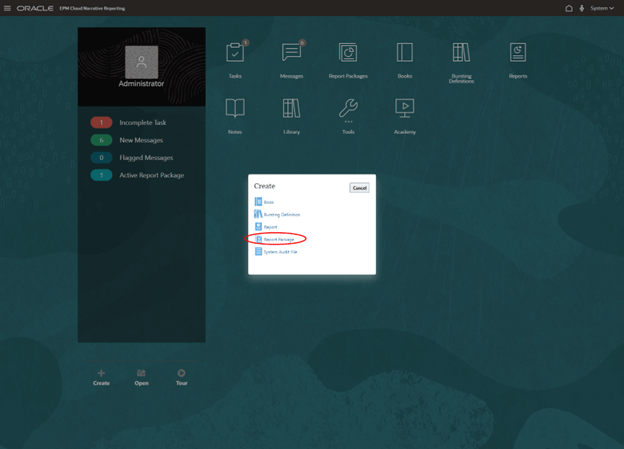
Select Report Package.
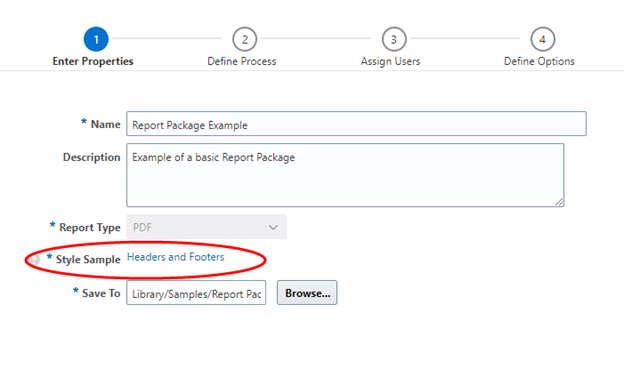
Enter a name for the Report Package and a description if desired.
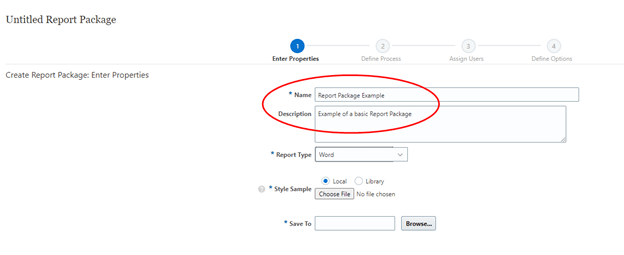
Report Type can be Word, PowerPoint, or PDF. If Word or PowerPoint, a Style Sample is needed. For PDF packages, Headers and Footers need to be set. We selected PDF.

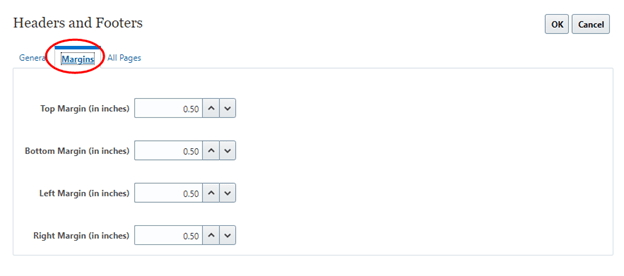
After selecting PDF, click the hyperlink on Headers and Footers. From the Margins tab, set the page margins. Note: We skipped the General tab, we will come back to that once we have Doclets defined.
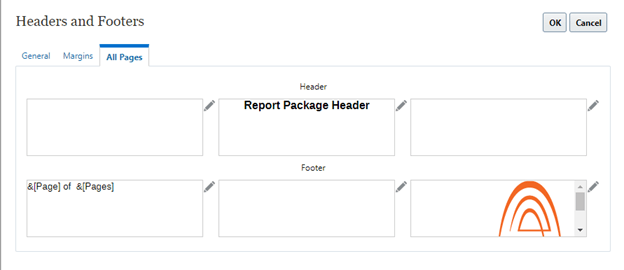
From the All Pages tab, enter headers and footers. Text and images can be used, click the Pencil icon next to the location box where you want the text/image. Note: These text/images do not replace headers and footers that exist in the source reports, it is stamped on the pages in the Report Package specified and will overlay anything already there.
Click OK to return to the Properties input. Select a Save To location.

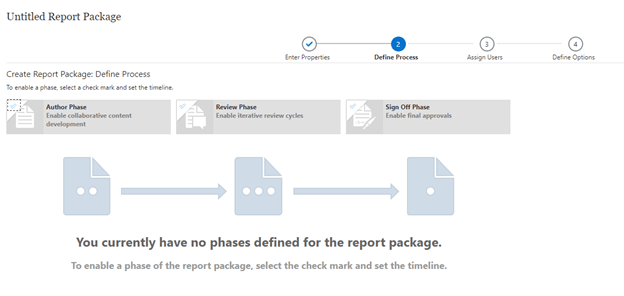
Click Next to proceed to the Define Process page. It is not required to select any of the phases, but we want to have an Author phase. Click the checkmark to select a phase.
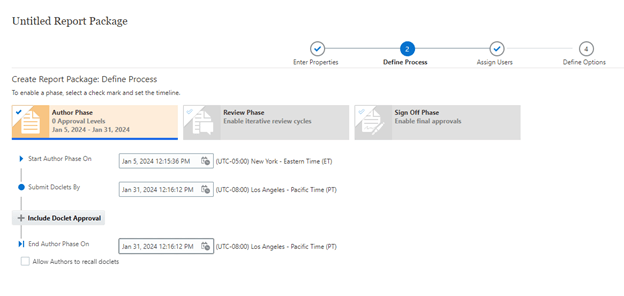
After selecting the Author phase, we update the date fields for starting, submitting Doclets, and ending the phase.
Click Next to continue to the Assign Users page. Additional users can be assigned, either Owners or Viewers. We will leave it with the default selections.

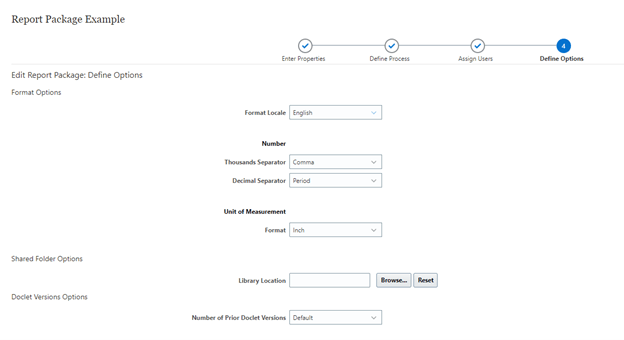
Click Next to continue to the Define Options page. We will again go with the default selections. Click Finish.
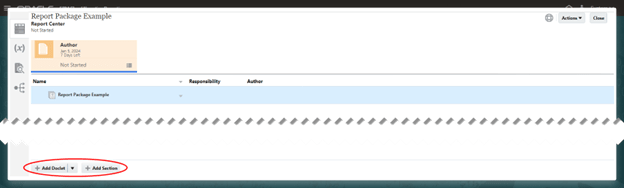
Now we are ready to add content to the package. From the selections at the bottom left of the page, we can add Doclets and Sections.
First, we add a Doclet for a cover page. Enter a name and an optional description. We are using a Word document that was previously created, so we select that as the type and upload the file.
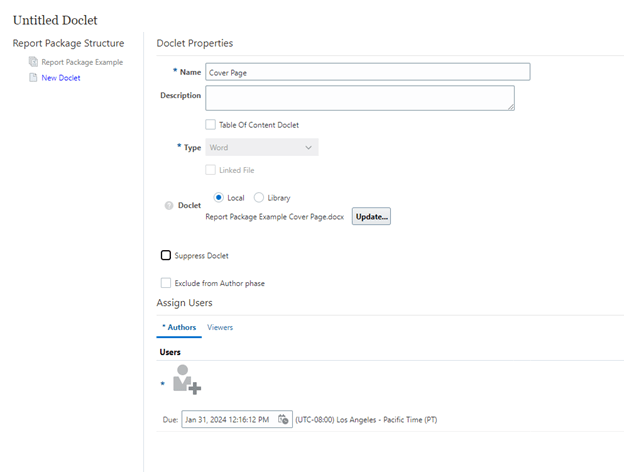
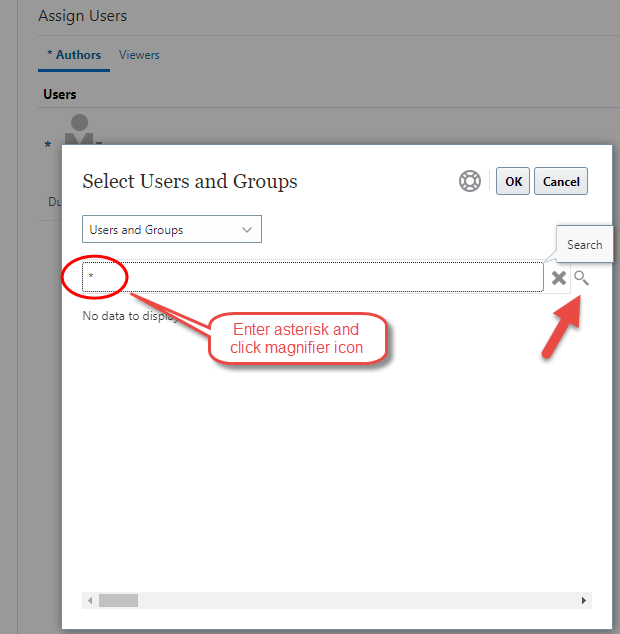
We need to assign users here. This is a frustrating feature I have encountered elsewhere in EPM; the search box needs a value in the box before it will search and return results. Without a value in the box, the search does not work. Entering an asterisk will search all, or if you know a specific user or group you can put that name in the search.
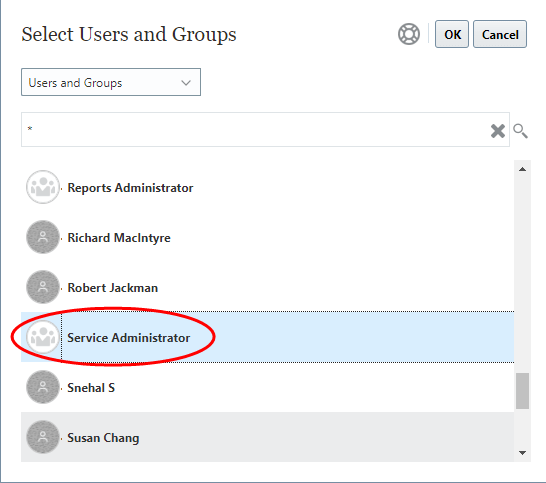
We selected the Service Administrator group. Click OK.
Click Save to finish this Doclet. It is now in our package.
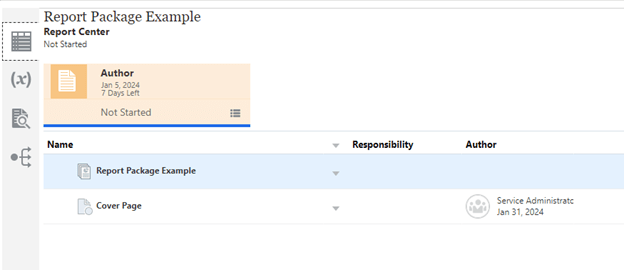
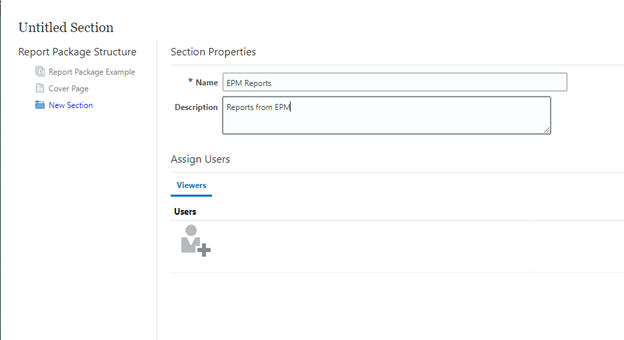
Though not really needed in this basic example, we add a Section as well. Click the Add Section at the bottom of the page. Add a name for the Section and an optional description. Click Save.
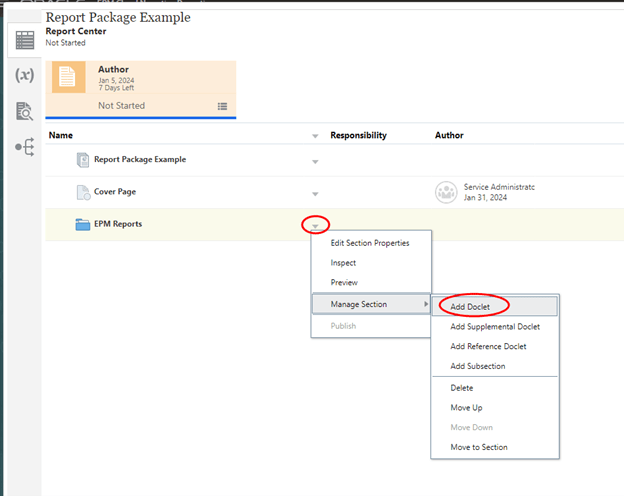
From the drop-down arrow on the Section, select Manage Section, then Add Doclet.
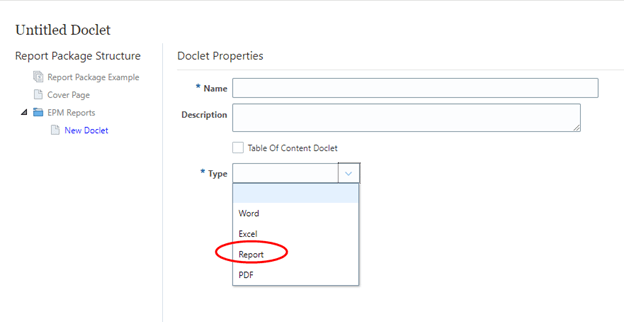
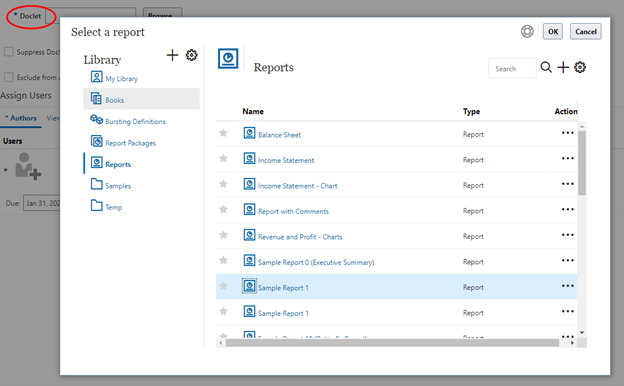
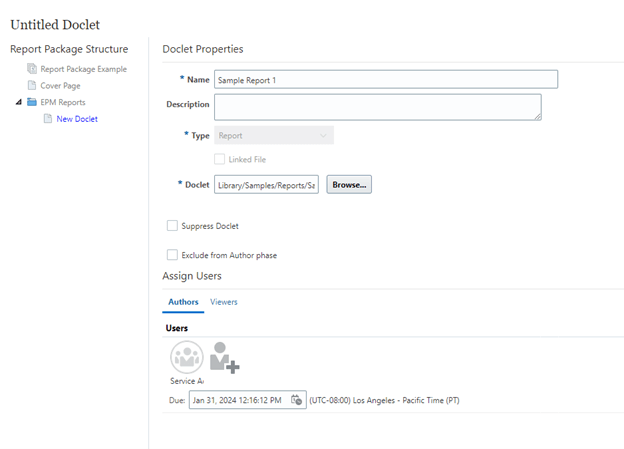
From the Type drop-down menu, select Report.
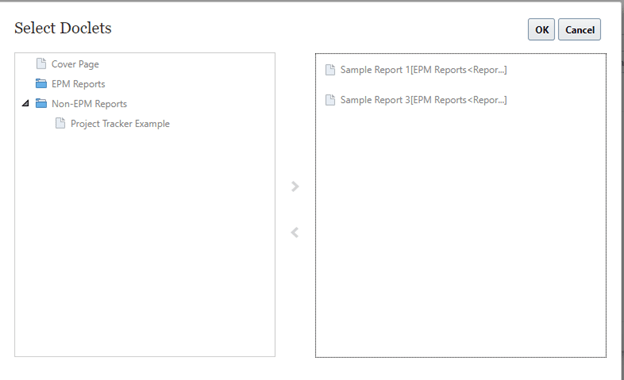
Click Browse on the Doclet field and select the report.
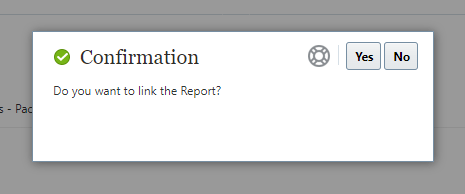
A confirmation window will open, click Yes.
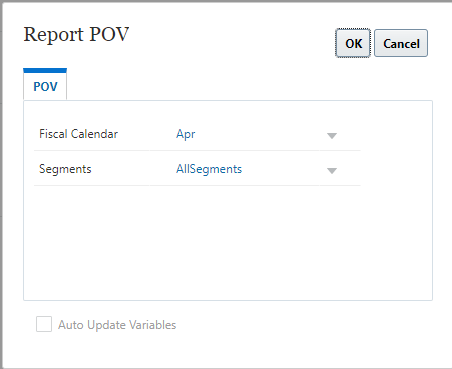
Depending on the report selected, it may be necessary to select POV members.
Notice that after selecting the report, the properties field for Name updates to the report name. We purposely did not manually add a name when we first came to the Doclet properties page.
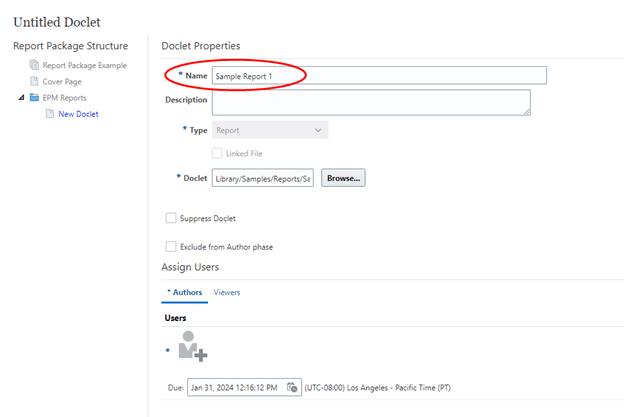
As with the first Doclet, we have to assign Users. We add Service Administrators and click Save.
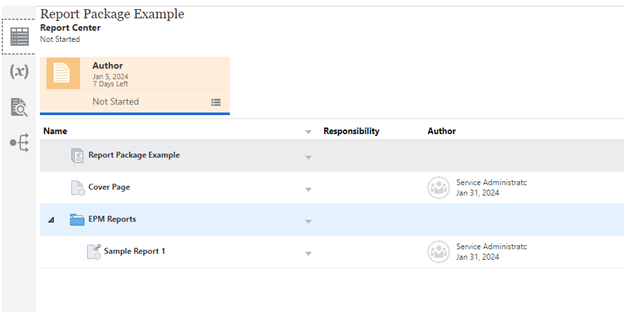
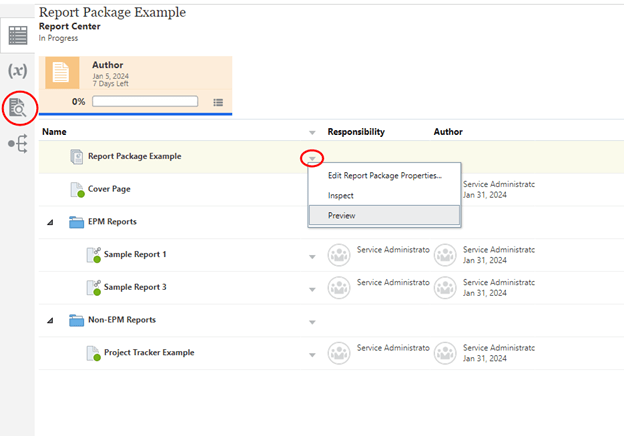
The package now has a cover page, a Section for EPM reports, and one report.
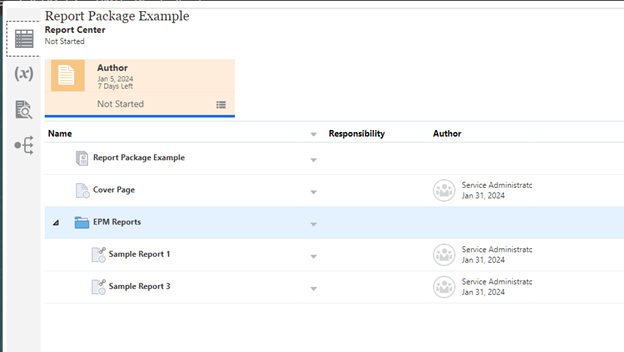
Now we can add another report to the EPM Reports Section.
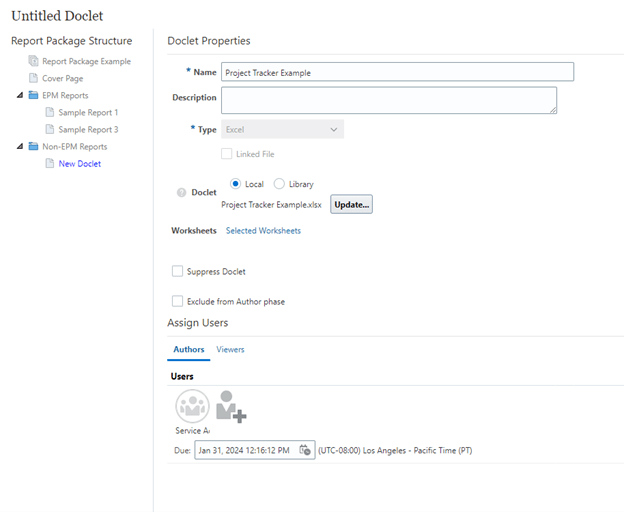
We still need to add a non-EPM report. We will also add a Section for that to keep it separate from the EPM reports. When we select Add Doclet in the new Section, we select Excel from the Type drop-down menu.
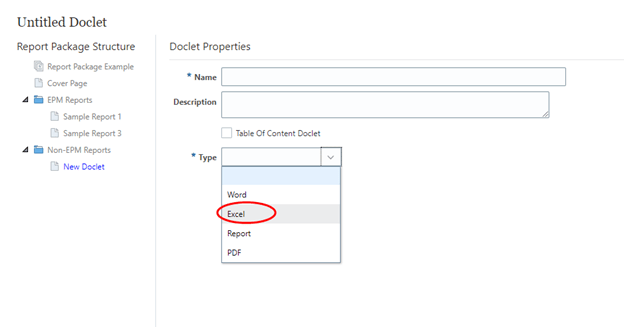
Select the file to upload. If the file has multiple sheets, you can bring them all in or select which ones.
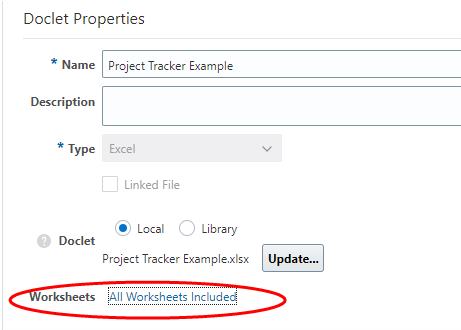
We only want one of the sheets. We also assigned the Users.
Now our Report Package has non-EPM content included.
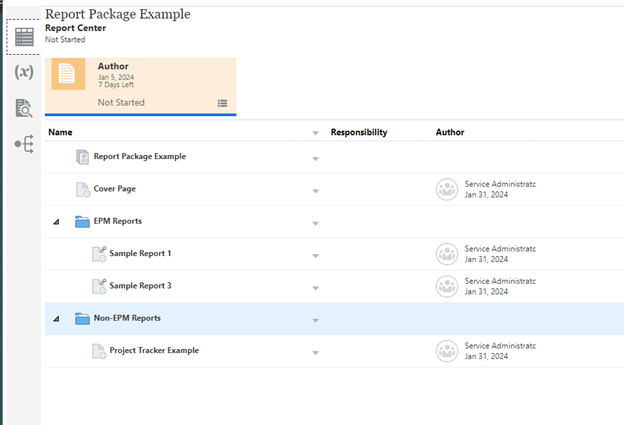
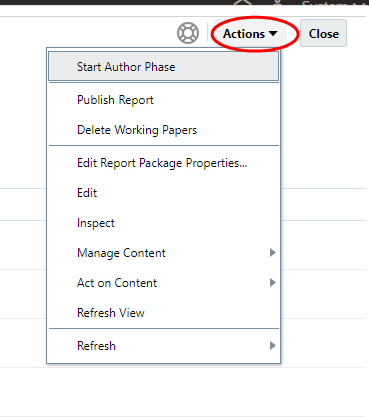
The package is now ready to prepare. From the Actions menu, select Start Author Phase. Be sure to have the first line selected (Report Package Example), otherwise the author phase will only apply to the single Section or Doclet selected instead of all.
Notice how each Doclet has been assigned a responsibility and has a green icon indicating In Progress.

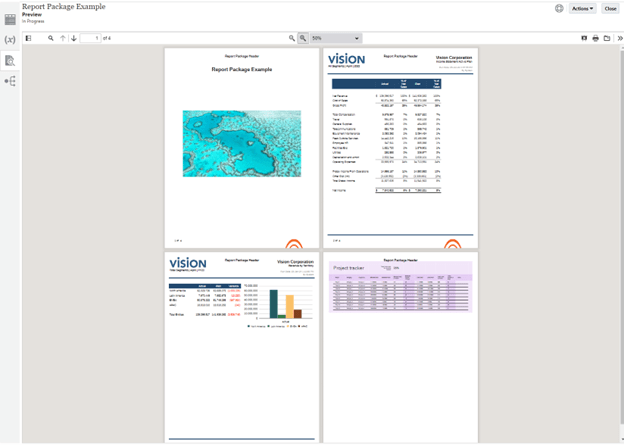
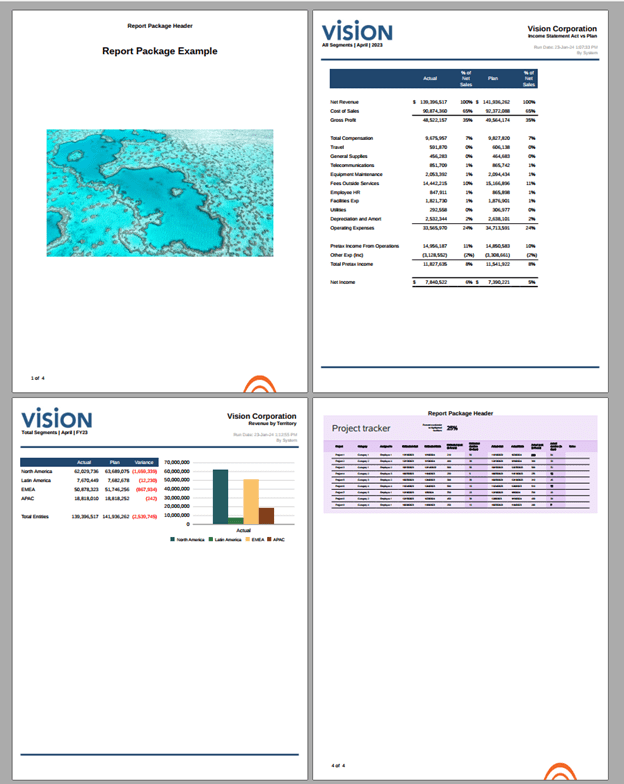
We can preview the package before marking any Sections or Doclets completed. From the drop-down menu on the title line, select Preview. Or select the Preview icon from the toolbar on the left.
We changed the view to show all the pages on one screen. You can see each page includes the headers and footers we defined.
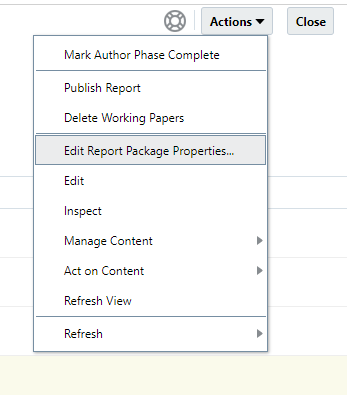
Since the Doclets for the EPM reports already have headers, we do not need the package headers on those pages. From the Actions menu, select Edit Report Package Properties.
From the Enter Properties page, select Headers and Footers.
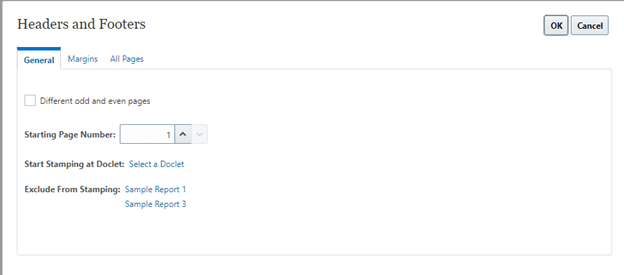
From the General tab, select the Doclets to exclude from stamping.

Select the two EPM reports.
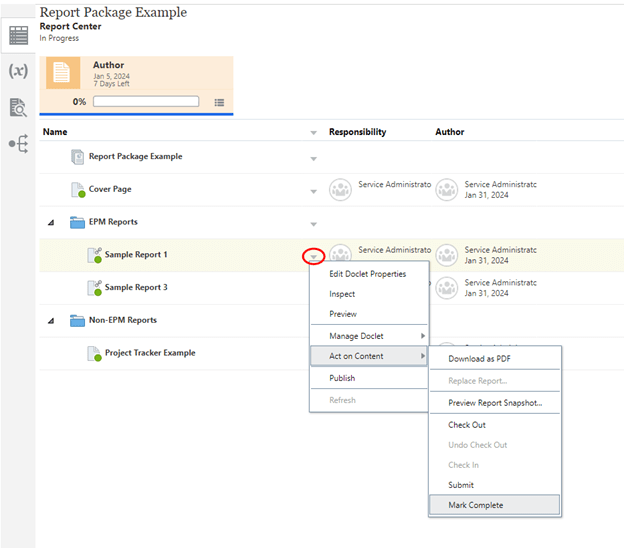
Click Finish to return to the Report Center page. Each Doclet can be managed individually, checked out if needed, previewed, and marked complete.
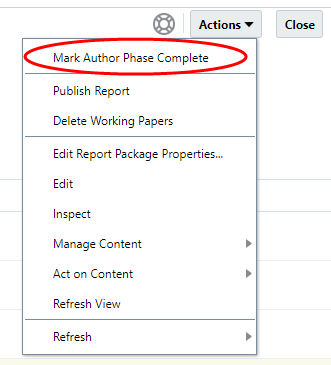
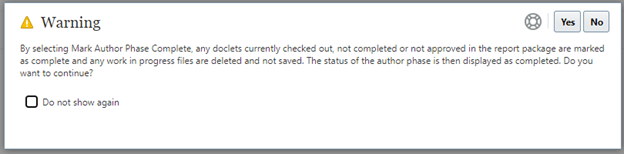
Or all Doclets can be marked complete at once. From the Actions menu, select Mark Author Phase Complete. This menu will have other options if the other phases are enabled.
A warning message window opens to confirm the selection.
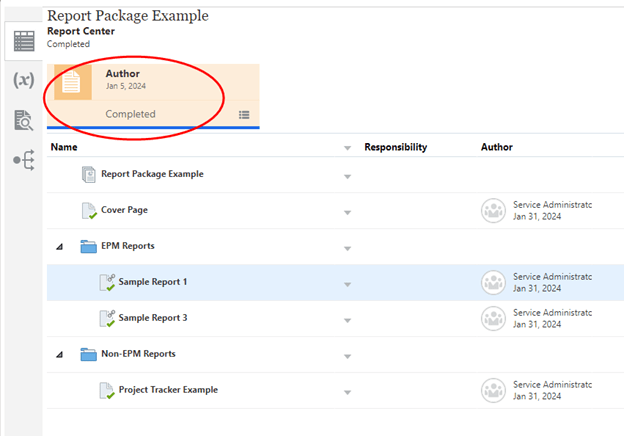
The Author phase is now marked as completed.
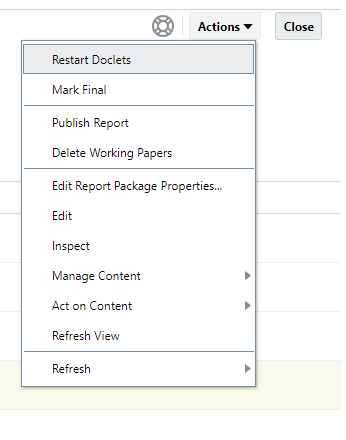
We are not quite finished yet. From the Action menu, several options are available.
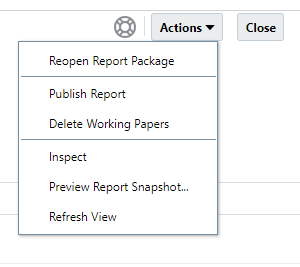
We want to mark the package as final and publish it. Select Mark Final. Now the Actions menu has less choices. One is to Reopen Report Package, which would restart the process, but we want to publish and be done.
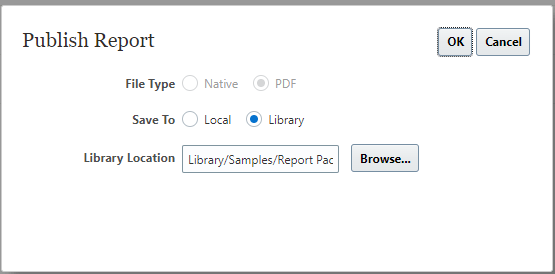
After clicking Publish Report, a window opens for us to select either Local or Library for the report. We want it to be saved to the Library, select the location and click OK.
The report package PDF file is in the Library folder we selected.

The file can be downloaded from here. Notice that the headers and footers are no longer on the two EPM reports.
This was a very basic example for creating a Report Package. I did not cover nearly enough to show the power of this product. The workflow can be much more purposeful with different authors for different Sections and Doclets, dates to complete different parts, reviewers added to contribute commentary, and a sign-off chain of as many people as needed based on the company’s requirements. Doclets can be added and updated as reporting needs change, and all the content can be refreshed with the latest data. Different Packages can be created for monthly and quarterly reporting and initiated on those schedules. Report Packages are one of the most useful, pragmatic products in the Cloud EPM suite that can bring together all the business processes for amazing reporting. Refer to full Oracle documentation to learn more about Report Packages.
As always, happy EPM’ng!
